每个SpringBoot
程序都有一个主入口,就是main()
方法,在main()
方法中调用SpringApplication.run()来启动整个程序。
1
2
3
4
5
6
7
| @SpringBootApplication
public class Application {
public static void main(String[] args) {
SpringApplication.run(Application.class,args);
}
}
|
SpringApplication.class
1
2
3
| public static ConfigurableApplicationContext run(Class<?> primarySource, String... args) {
return run(new Class[]{primarySource}, args);
}
|
1
2
3
4
5
6
7
8
9
10
11
| public SpringApplication(ResourceLoader resourceLoader, Class<?>... primarySources) {
this.resourceLoader = resourceLoader;
Assert.notNull(primarySources, "PrimarySources must not be null");
this.primarySources = new LinkedHashSet<>(Arrays.asList(primarySources));
this.webApplicationType = WebApplicationType.deduceFromClasspath();
this.bootstrapRegistryInitializers = new ArrayList<>(getSpringFactoriesInstances(BootstrapRegistryInitializer.class));
setInitializers((Collection) getSpringFactoriesInstances(ApplicationContextInitializer.class));
setListeners((Collection) getSpringFactoriesInstances(ApplicationListener.class));
this.mainApplicationClass = deduceMainApplicationClass();
}
|
- 调用静态
run()方法时,我们首先创建一个SpringApplication的对象实例。在创建实例时,进行了一些基本的初始化操作。大体如下:
- 根据
classpath的类推断并设置webApplicationType,根据源码可以看到包含三种容器REACTIVE、NONE、SERVLET,默认用的是WebApplicationType.SERVLET容器
- 从
META-INF/spring.factories中获取BootstrapRegistryInitializer并放入集合bootstrapRegistryInitializers中
- 加载所有的
ApplicationContextInitializer并放入集合initializers中
- 加载所有的
ApplicationListener并放入集合listeners中
- 推断
mainApplicationClass并赋值给this.mainApplicationClass
初始化完成后,执行run()方法。
1
2
3
4
5
6
7
| public static ConfigurableApplicationContext run(Class<?> primarySource, String... args) {
return run(new Class<?>[] { primarySource }, args);
}
public static ConfigurableApplicationContext run(Class<?>[] primarySources, String[] args) {
return new SpringApplication(primarySources).run(args);
}
|
1
2
3
4
5
6
7
8
9
10
11
12
13
14
15
16
17
18
19
20
21
22
23
24
25
26
27
28
29
30
31
32
33
34
35
36
37
38
39
40
41
42
43
44
45
46
47
| public ConfigurableApplicationContext run(String... args) {
long startTime = System.nanoTime();
DefaultBootstrapContext bootstrapContext = createBootstrapContext();
ConfigurableApplicationContext context = null;
configureHeadlessProperty();
SpringApplicationRunListeners listeners = getRunListeners(args);
listeners.starting(bootstrapContext, this.mainApplicationClass);
try {
ApplicationArguments applicationArguments = new DefaultApplicationArguments(args);
ConfigurableEnvironment environment = prepareEnvironment(listeners, bootstrapContext, applicationArguments);
Banner printedBanner = printBanner(environment);
context = createApplicationContext();
context.setApplicationStartup(this.applicationStartup);
prepareContext(bootstrapContext, context, environment, listeners, applicationArguments, printedBanner);
refreshContext(context);
afterRefresh(context, applicationArguments);
Duration timeTakenToStartup = Duration.ofNanos(System.nanoTime() - startTime);
if (this.logStartupInfo) {
new StartupInfoLogger(this.mainApplicationClass).logStarted(getApplicationLog(), timeTakenToStartup);
}
listeners.started(context, timeTakenToStartup);
callRunners(context, applicationArguments);
}
catch (Throwable ex) {
if (ex instanceof AbandonedRunException) {
throw ex;
}
handleRunFailure(context, ex, listeners);
throw new IllegalStateException(ex);
}
try {
if (context.isRunning()) {
Duration timeTakenToReady = Duration.ofNanos(System.nanoTime() - startTime);
listeners.ready(context, timeTakenToReady);
}
}
catch (Throwable ex) {
if (ex instanceof AbandonedRunException) {
throw ex;
}
handleRunFailure(context, ex, null);
throw new IllegalStateException(ex);
}
return context;
}
|
run()方法中首先调用方法getRunListeners()查找并加载所有的SpringApplicationRunListener(监听器),放入到SpringApplicationRunListeners这个集合类里面来进行统一管理。然后调用他们的starting()来通知所有的listeners(监听器)程序启动。
getRunListeners方法:
SpringAppcation.java
1
2
3
4
5
6
7
8
9
10
11
12
13
14
15
16
17
18
| private SpringApplicationRunListeners getRunListeners(String[] args) {
ArgumentResolver argumentResolver = ArgumentResolver.of(SpringApplication.class, this);
argumentResolver = argumentResolver.and(String[].class, args);
List<SpringApplicationRunListener> listeners = getSpringFactoriesInstances(SpringApplicationRunListener.class,
argumentResolver);
SpringApplicationHook hook = applicationHook.get();
SpringApplicationRunListener hookListener = (hook != null) ? hook.getRunListener(this) : null;
if (hookListener != null) {
listeners = new ArrayList<>(listeners);
listeners.add(hookListener);
}
return new SpringApplicationRunListeners(logger, listeners, this.applicationStartup);
}
private <T> List<T> getSpringFactoriesInstances(Class<T> type, ArgumentResolver argumentResolver) {
return SpringFactoriesLoader.forDefaultResourceLocation(getClassLoader()).load(type, argumentResolver);
}
|
SpringFactoriesLoader.class
1
2
3
| public static SpringFactoriesLoader forDefaultResourceLocation(@Nullable ClassLoader classLoader) {
return forResourceLocation("META-INF/spring.factories", classLoader);
}
|
getRunListeners()方法从spring.factories中获取运行监听器。
我们debug跟踪一下。

可以看到,注册为SpringApplicationRunListener的实现类只有一个,就是EventPublishingRunListener。用来在SpringBoot的整个启动流程中的不同时间点发布不同类型的应用事件(SpringApplicationEvent)。EventPublishingRunListener 是 SpringApplicationRunListener 的子类,它会在应用程序启动期间发布多个事件。当应用程序上下文创建时,EventPublishingRunListener 会发布 ApplicationStartingEvent 事件;当应用程序运行时,它会发布 ApplicationStartedEvent 事件。这些事件可以被其他组件监听,例如自定义的事件监听器。通过监听这些事件,您可以在应用程序启动期间执行自定义的逻辑。
我们接着回到Run方法中
1
2
3
4
5
|
try {
  ApplicationArguments applicationArguments = new DefaultApplicationArguments(args);
  ConfigurableEnvironment environment = prepareEnvironment(listeners, bootstrapContext, applicationArguments);
|
1
2
3
4
5
6
7
8
9
10
11
12
13
14
15
16
17
18
19
20
21
22
23
24
25
26
| private ConfigurableEnvironment prepareEnvironment(SpringApplicationRunListeners listeners,
DefaultBootstrapContext bootstrapContext, ApplicationArguments applicationArguments) {
ConfigurableEnvironment environment = getOrCreateEnvironment();
configureEnvironment(environment, applicationArguments.getSourceArgs());
ConfigurationPropertySources.attach(environment);
listeners.environmentPrepared(bootstrapContext, environment);
DefaultPropertiesPropertySource.moveToEnd(environment);
Assert.state(!environment.containsProperty("spring.main.environment-prefix"),
"Environment prefix cannot be set via properties.");
bindToSpringApplication(environment);
if (!this.isCustomEnvironment) {
EnvironmentConverter environmentConverter = new EnvironmentConverter(getClassLoader());
environment = environmentConverter.convertEnvironmentIfNecessary(environment, deduceEnvironmentClass());
}
ConfigurationPropertySources.attach(environment);
return environment;
}
|
1
2
3
4
5
6
7
8
9
10
| private ConfigurableEnvironment getOrCreateEnvironment() {
if (this.environment != null) {
return this.environment;
}
ConfigurableEnvironment environment = this.applicationContextFactory.createEnvironment(this.webApplicationType);
if (environment == null && this.applicationContextFactory != ApplicationContextFactory.DEFAULT) {
environment = ApplicationContextFactory.DEFAULT.createEnvironment(this.webApplicationType);
}
return (environment != null) ? environment : new ApplicationEnvironment();
}
|
- 通过
prepareEnvironment()方法进行环境的准备(包括配置property和对应的profile信息,将其放入environment变量),然后返回可配置环境environment
继续查看run()方法:
1
2
3
4
5
6
7
8
9
10
11
12
13
14
15
| try {
......
Banner printedBanner = printBanner(environment);
context = createApplicationContext();
context.setApplicationStartup(this.applicationStartup);
prepareContext(bootstrapContext, context, environment, listeners, applicationArguments, printedBanner);
refreshContext(context);
afterRefresh(context, applicationArguments);
Duration timeTakenToStartup = Duration.ofNanos(System.nanoTime() - startTime);
if (this.logStartupInfo) {
new StartupInfoLogger(this.mainApplicationClass).logStarted(getApplicationLog(), timeTakenToStartup);
}
listeners.started(context, timeTakenToStartup);
callRunners(context, applicationArguments);
}
|
- 调用
printBanner()方法打印 banner
信息
1
2
3
4
5
6
7
8
9
10
11
12
13
| private Banner printBanner(ConfigurableEnvironment environment) {
if (this.bannerMode == Mode.OFF) {
return null;
} else {
ResourceLoader resourceLoader = this.resourceLoader != null ? this.resourceLoader : new DefaultResourceLoader((ClassLoader)null);
SpringApplicationBannerPrinter bannerPrinter = new SpringApplicationBannerPrinter((ResourceLoader)resourceLoader, this.banner);
return this.bannerMode == Mode.LOG ? bannerPrinter.print(environment, this.mainApplicationClass, logger) : bannerPrinter.print(environment, this.mainApplicationClass, System.out);
}
}
protected ConfigurableApplicationContext createApplicationContext() {
return this.applicationContextFactory.create(this.webApplicationType);
}
|

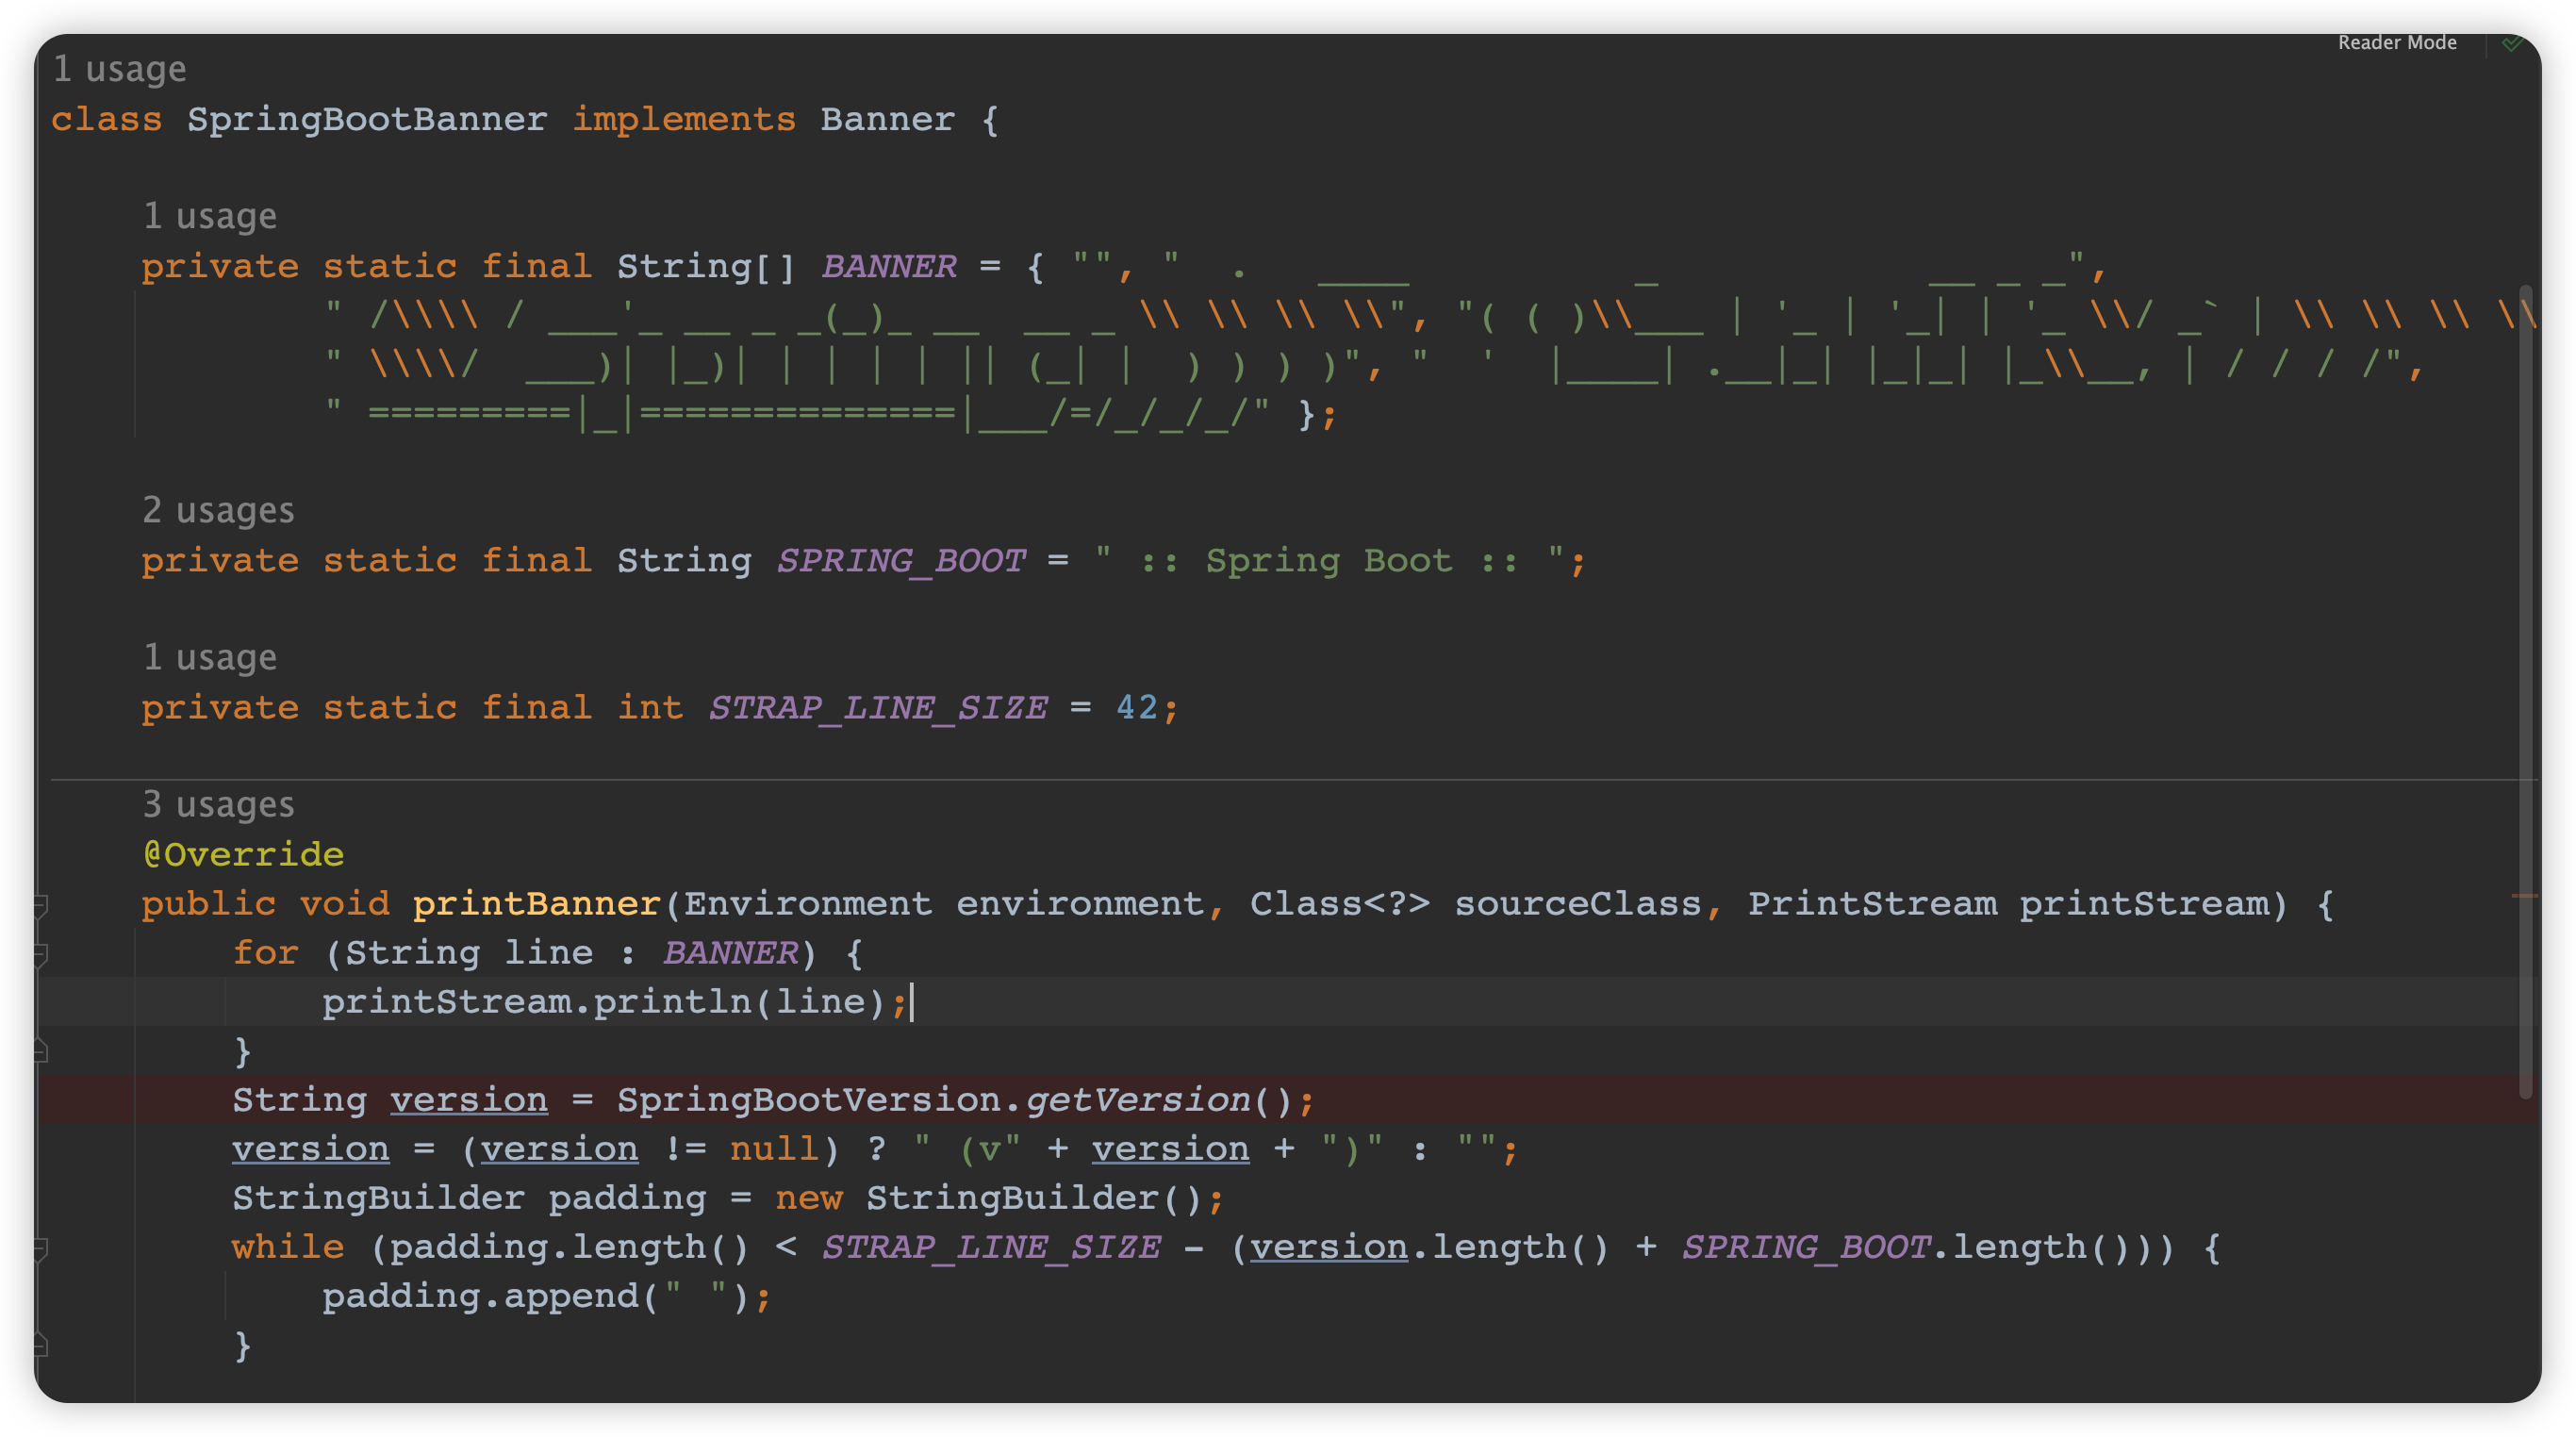
我们可以通过在类路径下添加banner.txt文件自定义banner
打印信息或将spring.banner.location属性设置为此类文件的位置来更改启动时打印的横幅。如果文件的编码不是 UTF-8,您可以设置spring.banner.charset。
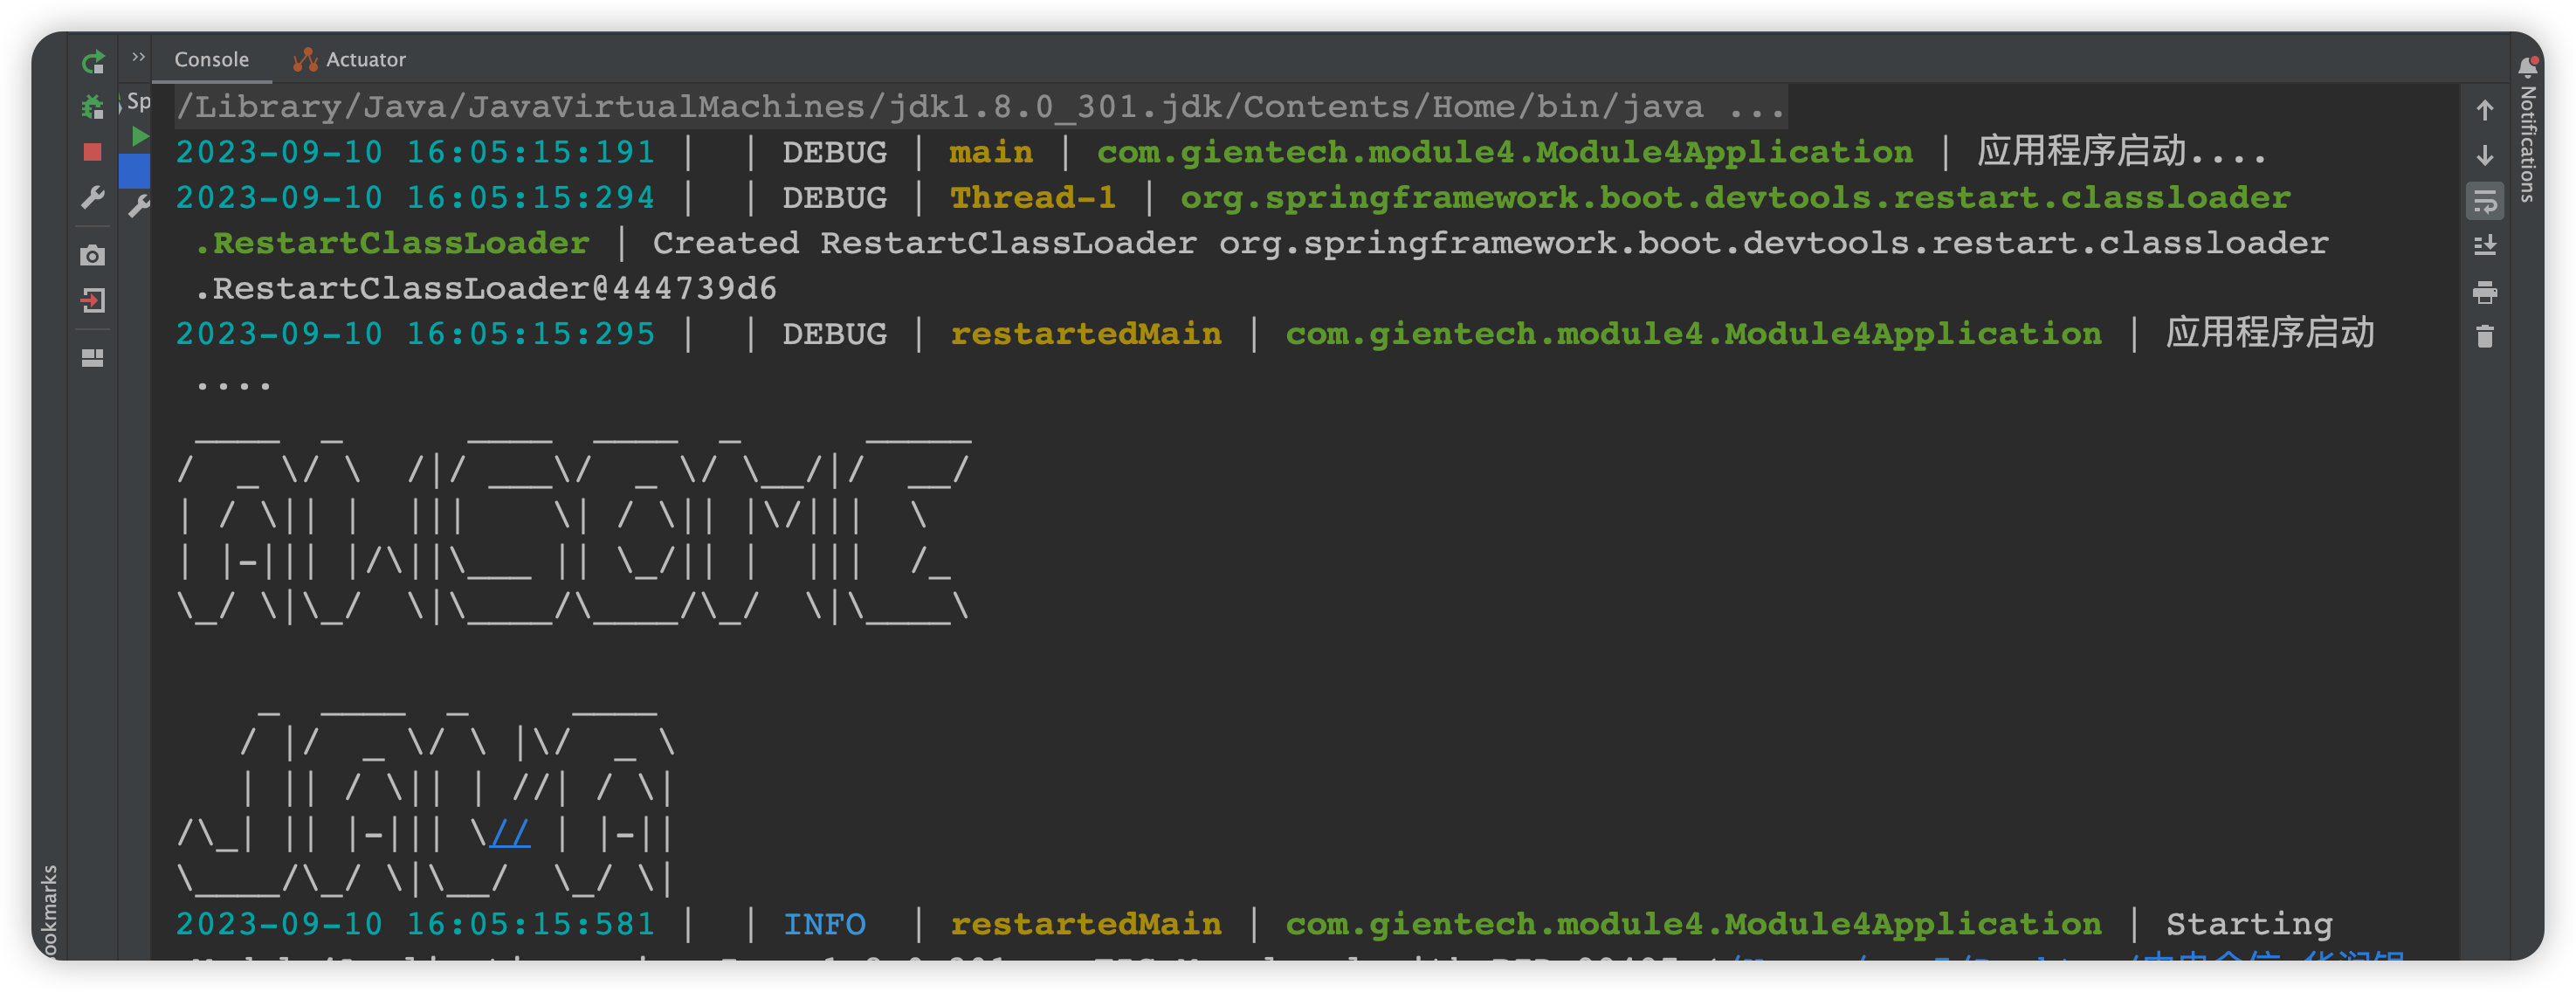
自定义banner示例:
banner.txt

打印效果:

继续查看run()方法:
1
2
3
4
5
6
7
8
9
10
11
12
13
14
15
16
17
| try {
......
context = createApplicationContext();
context.setApplicationStartup(this.applicationStartup);
prepareContext(bootstrapContext, context, environment, listeners, applicationArguments, printedBanner);
refreshContext(context);
afterRefresh(context, applicationArguments);
Duration timeTakenToStartup = Duration.ofNanos(System.nanoTime() - startTime);
if (this.logStartupInfo) {
new StartupInfoLogger(this.mainApplicationClass).logStarted(getApplicationLog(), timeTakenToStartup);
}
listeners.started(context, timeTakenToStartup);
callRunners(context, applicationArguments);
}
|
1
2
3
4
5
6
7
8
9
10
11
12
13
14
15
16
17
18
19
20
21
22
23
24
25
26
27
28
29
30
31
32
33
34
35
36
37
38
39
40
41
42
43
44
| private void prepareContext(DefaultBootstrapContext bootstrapContext, ConfigurableApplicationContext context, ConfigurableEnvironment environment, SpringApplicationRunListeners listeners, ApplicationArguments applicationArguments, Banner printedBanner) {
context.setEnvironment(environment);
this.postProcessApplicationContext(context);
this.applyInitializers(context);
listeners.contextPrepared(context);
bootstrapContext.close(context);
if (this.logStartupInfo) {
this.logStartupInfo(context.getParent() == null);
this.logStartupProfileInfo(context);
}
ConfigurableListableBeanFactory beanFactory = context.getBeanFactory();
beanFactory.registerSingleton("springApplicationArguments", applicationArguments);
if (printedBanner != null) {
beanFactory.registerSingleton("springBootBanner", printedBanner);
}
if (beanFactory instanceof AbstractAutowireCapableBeanFactory) {
((AbstractAutowireCapableBeanFactory)beanFactory).setAllowCircularReferences(this.allowCircularReferences);
if (beanFactory instanceof DefaultListableBeanFactory) {
((DefaultListableBeanFactory)beanFactory).setAllowBeanDefinitionOverriding(this.allowBeanDefinitionOverriding);
}
}
if (this.lazyInitialization) {
context.addBeanFactoryPostProcessor(new LazyInitializationBeanFactoryPostProcessor());
}
context.addBeanFactoryPostProcessor(new PropertySourceOrderingBeanFactoryPostProcessor(context));
Set<Object> sources = this.getAllSources();
Assert.notEmpty(sources, "Sources must not be empty");
this.load(context, sources.toArray(new Object[0]));
listeners.contextLoaded(context);
}
|
继续回到run()方法:
1
2
3
4
5
6
7
8
9
10
11
| try {
......
refreshContext(context);
afterRefresh(context, applicationArguments);
Duration timeTakenToStartup = Duration.ofNanos(System.nanoTime() - startTime);
if (this.logStartupInfo) {
new StartupInfoLogger(this.mainApplicationClass).logStarted(getApplicationLog(), timeTakenToStartup);
}
listeners.started(context, timeTakenToStartup);
callRunners(context, applicationArguments);
}
|
refreshContext
配置完容器基本信息后,刷新容器上下文refreshContext方法
1
2
3
4
5
6
7
| private void refreshContext(ConfigurableApplicationContext context) {
if (this.registerShutdownHook) {
shutdownHook.registerApplicationContext(context);
}
this.refresh(context);
}
|
1
2
3
4
5
6
7
8
9
10
11
12
| public final void refresh() throws BeansException, IllegalStateException {
try {
super.refresh();
} catch (RuntimeException var3) {
WebServer webServer = this.webServer;
if (webServer != null) {
webServer.stop();
}
throw var3;
}
}
|
1
2
3
4
5
6
7
8
9
10
11
12
13
14
15
16
17
18
19
20
21
22
23
24
25
26
27
28
29
30
31
32
33
34
35
36
37
38
39
40
41
42
43
44
45
|
public void refresh() throws BeansException, IllegalStateException {
synchronized(this.startupShutdownMonitor) {
StartupStep contextRefresh = this.applicationStartup.start("spring.context.refresh");
this.prepareRefresh();
ConfigurableListableBeanFactory beanFactory = this.obtainFreshBeanFactory();
this.prepareBeanFactory(beanFactory);
try {
this.postProcessBeanFactory(beanFactory);
StartupStep beanPostProcess = this.applicationStartup.start("spring.context.beans.post-process");
this.invokeBeanFactoryPostProcessors(beanFactory);
this.registerBeanPostProcessors(beanFactory);
beanPostProcess.end();
this.initMessageSource();
this.initApplicationEventMulticaster();
this.onRefresh();
this.registerListeners();
this.finishBeanFactoryInitialization(beanFactory);
this.finishRefresh();
} catch (BeansException var10) {
if (this.logger.isWarnEnabled()) {
this.logger.warn("Exception encountered during context initialization - cancelling refresh attempt: " + var10);
}
this.destroyBeans();
this.cancelRefresh(var10);
throw var10;
} finally {
this.resetCommonCaches();
contextRefresh.end();
}
}
}
|
刷新容器上下文refreshContext方法之后看到afterRefresh是一个空方法,主要用于开发者拓展使用。
run():
1
2
3
4
5
6
7
8
9
10
11
| try {
......
refreshContext(context);
afterRefresh(context, applicationArguments);
Duration timeTakenToStartup = Duration.ofNanos(System.nanoTime() - startTime);
if (this.logStartupInfo) {
new StartupInfoLogger(this.mainApplicationClass).logStarted(getApplicationLog(), timeTakenToStartup);
}
listeners.started(context, timeTakenToStartup);
callRunners(context, applicationArguments);
}
|
容器配置都完成之后,这时监听应用上下文启动完成所有的运行监听器调用 started() 方法,发布监听应用的启动事件
1
2
3
4
5
| void started(ConfigurableApplicationContext context, Duration timeTaken) {
this.doWithListeners("spring.boot.application.started", (listener) -> {
listener.started(context, timeTaken);
});
}
|
后续继续执行callRunners方法遍历所有runner,调用run方法。
上述都完成之后到了最后一步,执行listener.running方法
1
2
3
4
5
6
7
8
9
| try {
Duration timeTakenToReady = Duration.ofNanos(System.nanoTime() - startTime);
listeners.ready(context, timeTakenToReady);
return context;
} catch (Throwable var11) {
this.handleRunFailure(context, var11, (SpringApplicationRunListeners)null);
throw new IllegalStateException(var11);
}
|
运行所有运行监听器,该方法执行以后SpringApplication.run()也就算执行完成了,那么SpringBoot的ApplicationContext也就启动完成了。
流程图:


